Part 2 - The Waiting Game
Return of the Pi
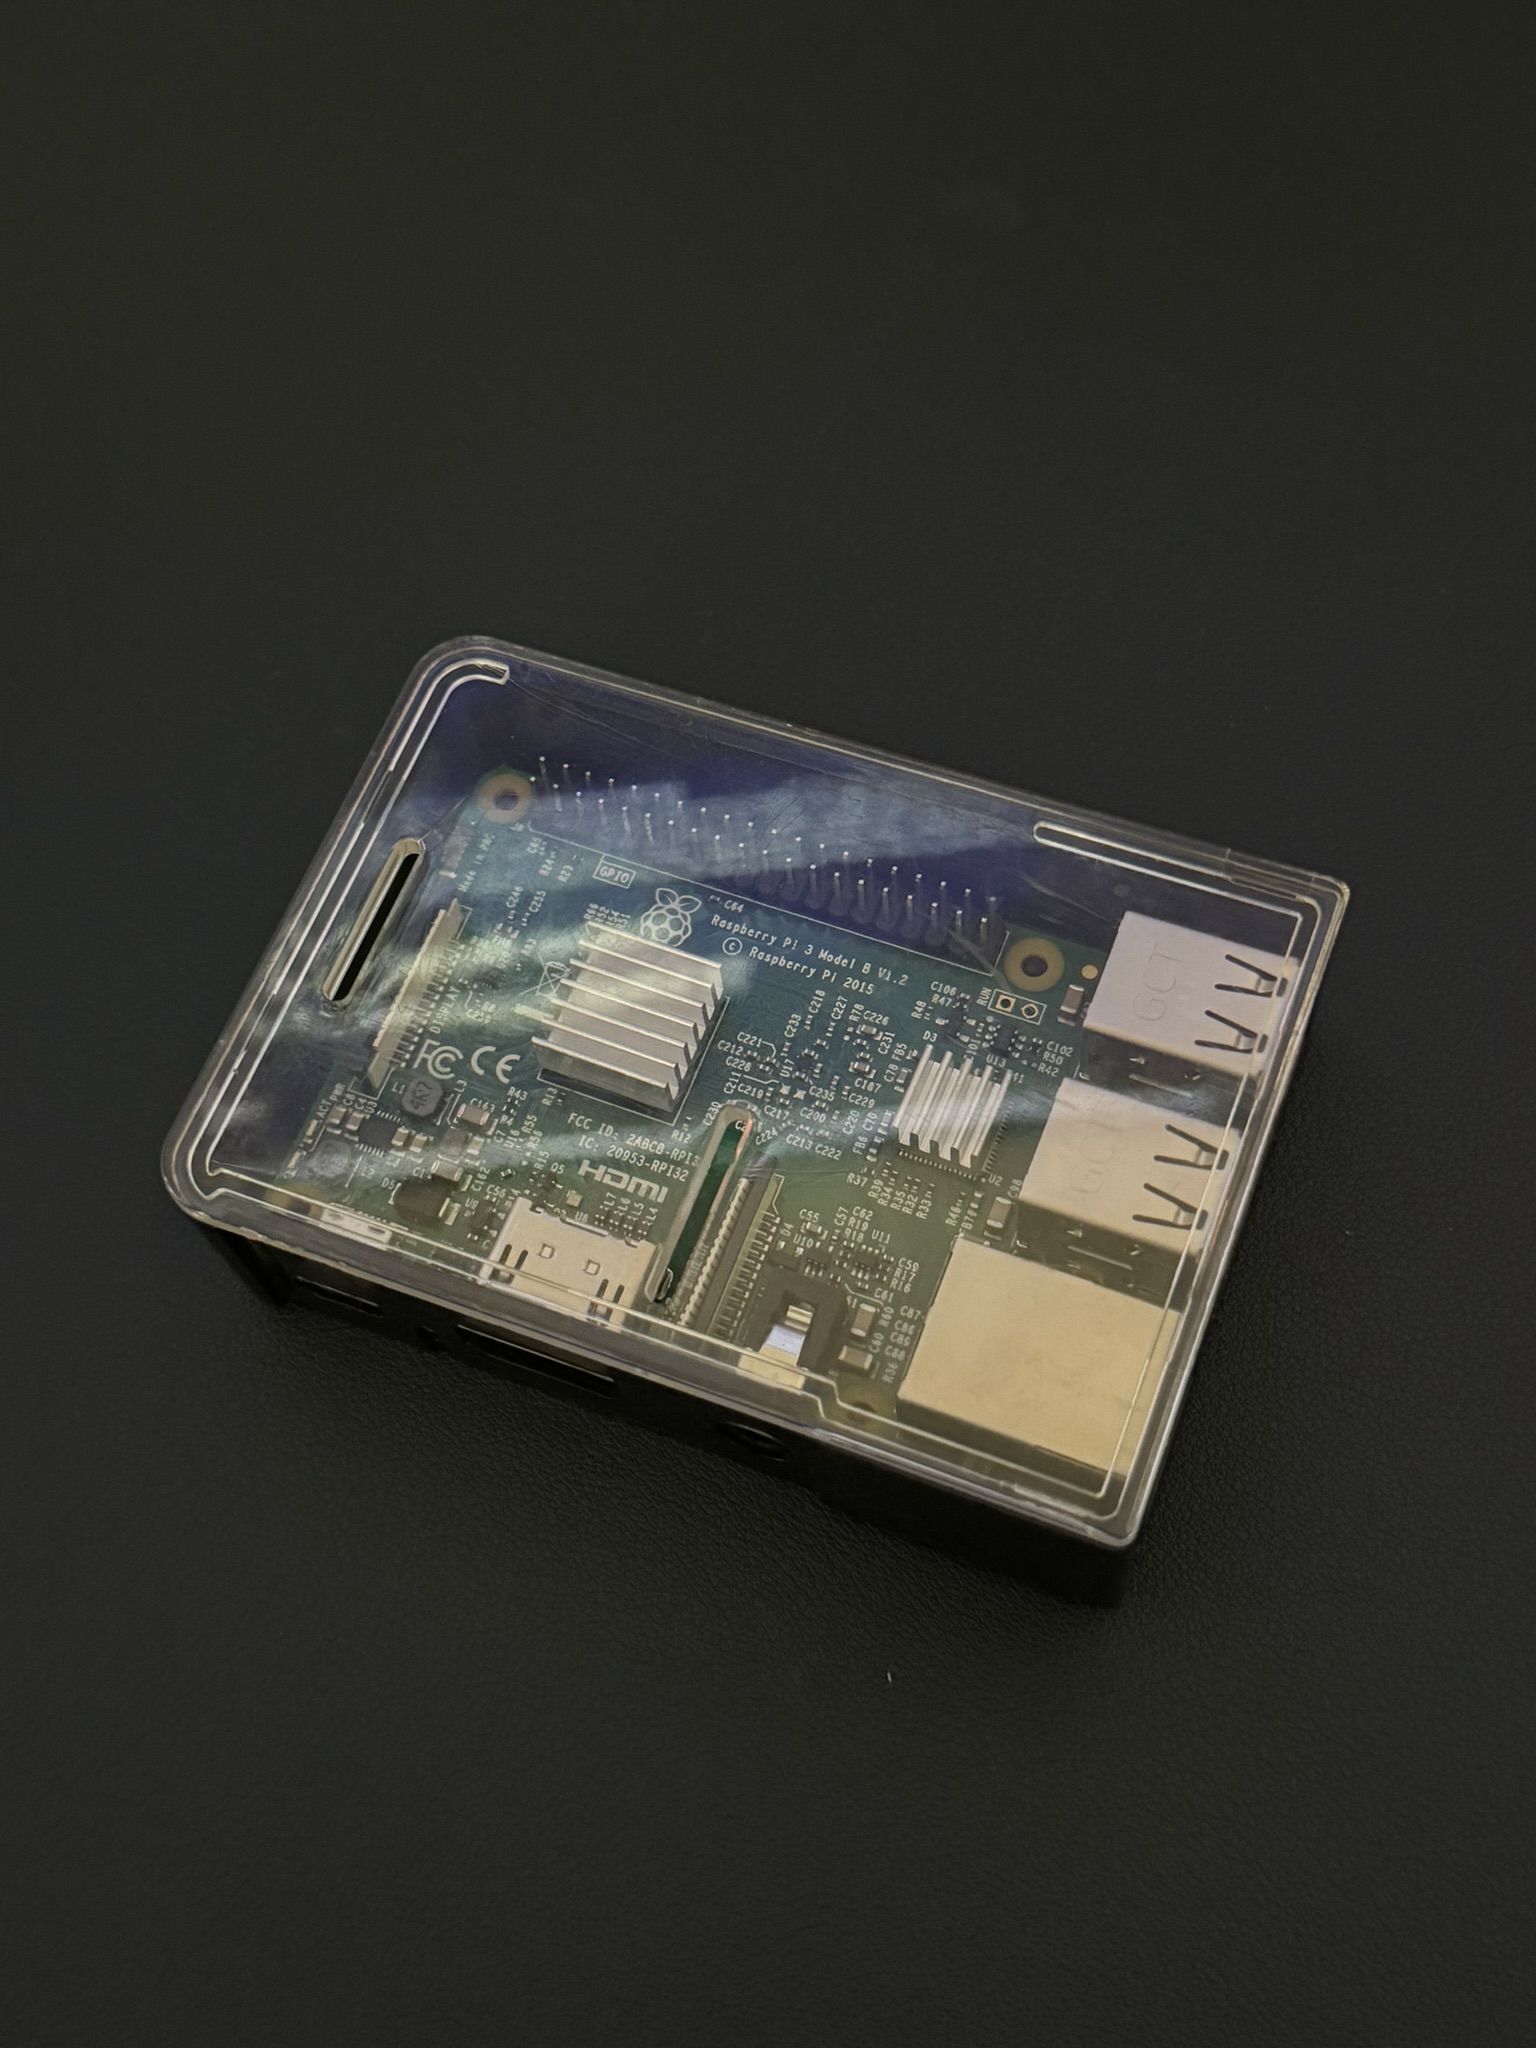
The past two weeks have been very uneventful. I have mostly just been waiting for my Pi order to arrive. Part of the goal of this project was to use as many recycled pieces as possible. Recently, I purchased a Raspberry Pi 4 for a more competent solution to my self-hosting needs, unfortunately shortly after setting the Pi up I realized its USB ports were non-functional. After a bit of back and forth with the company I got a return label and promptly waited until after Christmas to send it out. When I finally received the refund for my device (in the form of store credit) the Pi 5 had come out and I decided to just buy that one as it was a similar price. Again unfortunate but the Pi5 was out of stock, so I did what any patient person does, bought it at another store. The Pi5 finally arrived this week and I was able to move all my services onto the Pi5, leaving my old Pi3 ready for a new life.

New Year New Me
I did a fair bit of research into what operating system I wanted installed on the Pi. I have tried a few of the options but decided I wanted to try something new. Batocera intrigued me as an up and coming OS that I had seen a few Youtube videos on. At the end of the day most of these solutions result in the same thing, EmulationStation frontend with some emulators and goodies.
Batocera is King
The first thing I liked about Batocera is the documentation and community. It was immediately clear that Batocera was well documented and had a great deal of guides included directly in their documentation. The install process was simple and straightforward, download the .img file and use Raspberry Pi Imager to image the SD card. Unfortunately I ran into some errors using the most recent download of Batocera and ended up installing an older version. Some folks online also mentioned better performance on older devices with older versions, so win win. After some more waiting I finally had my Pi ready to go, or so I thought.
Overscan
On first boot all seemed well, the intro graphic played and the audio seemed to be working fine. Keep in mind this was the first time I was trying the A/V to RCA cable and had no idea if it would work. Unfortunately following the boot screen I was greeted with this overscanned image of EmulationStation. After much tinkering with configuration settings for EmulationStation I found the solution hidden in the Developer settings. Unchecking the Overscan option solved the issue and I was saved.

How do I play?
At this point we have a working retro entertainment system, we just need to add the content. The first and easiest piece of content to add is some ROM backups I have on my local machine. This can be done very easily with Batocera’s network drive. Accessing this was as simple as clicking the BATOCERA connection in the Network tab of Finder. From there I was able to transfer bios and roms over to the Pi without needing to remove the SD card. Now we’re finally ready to play.
Customization
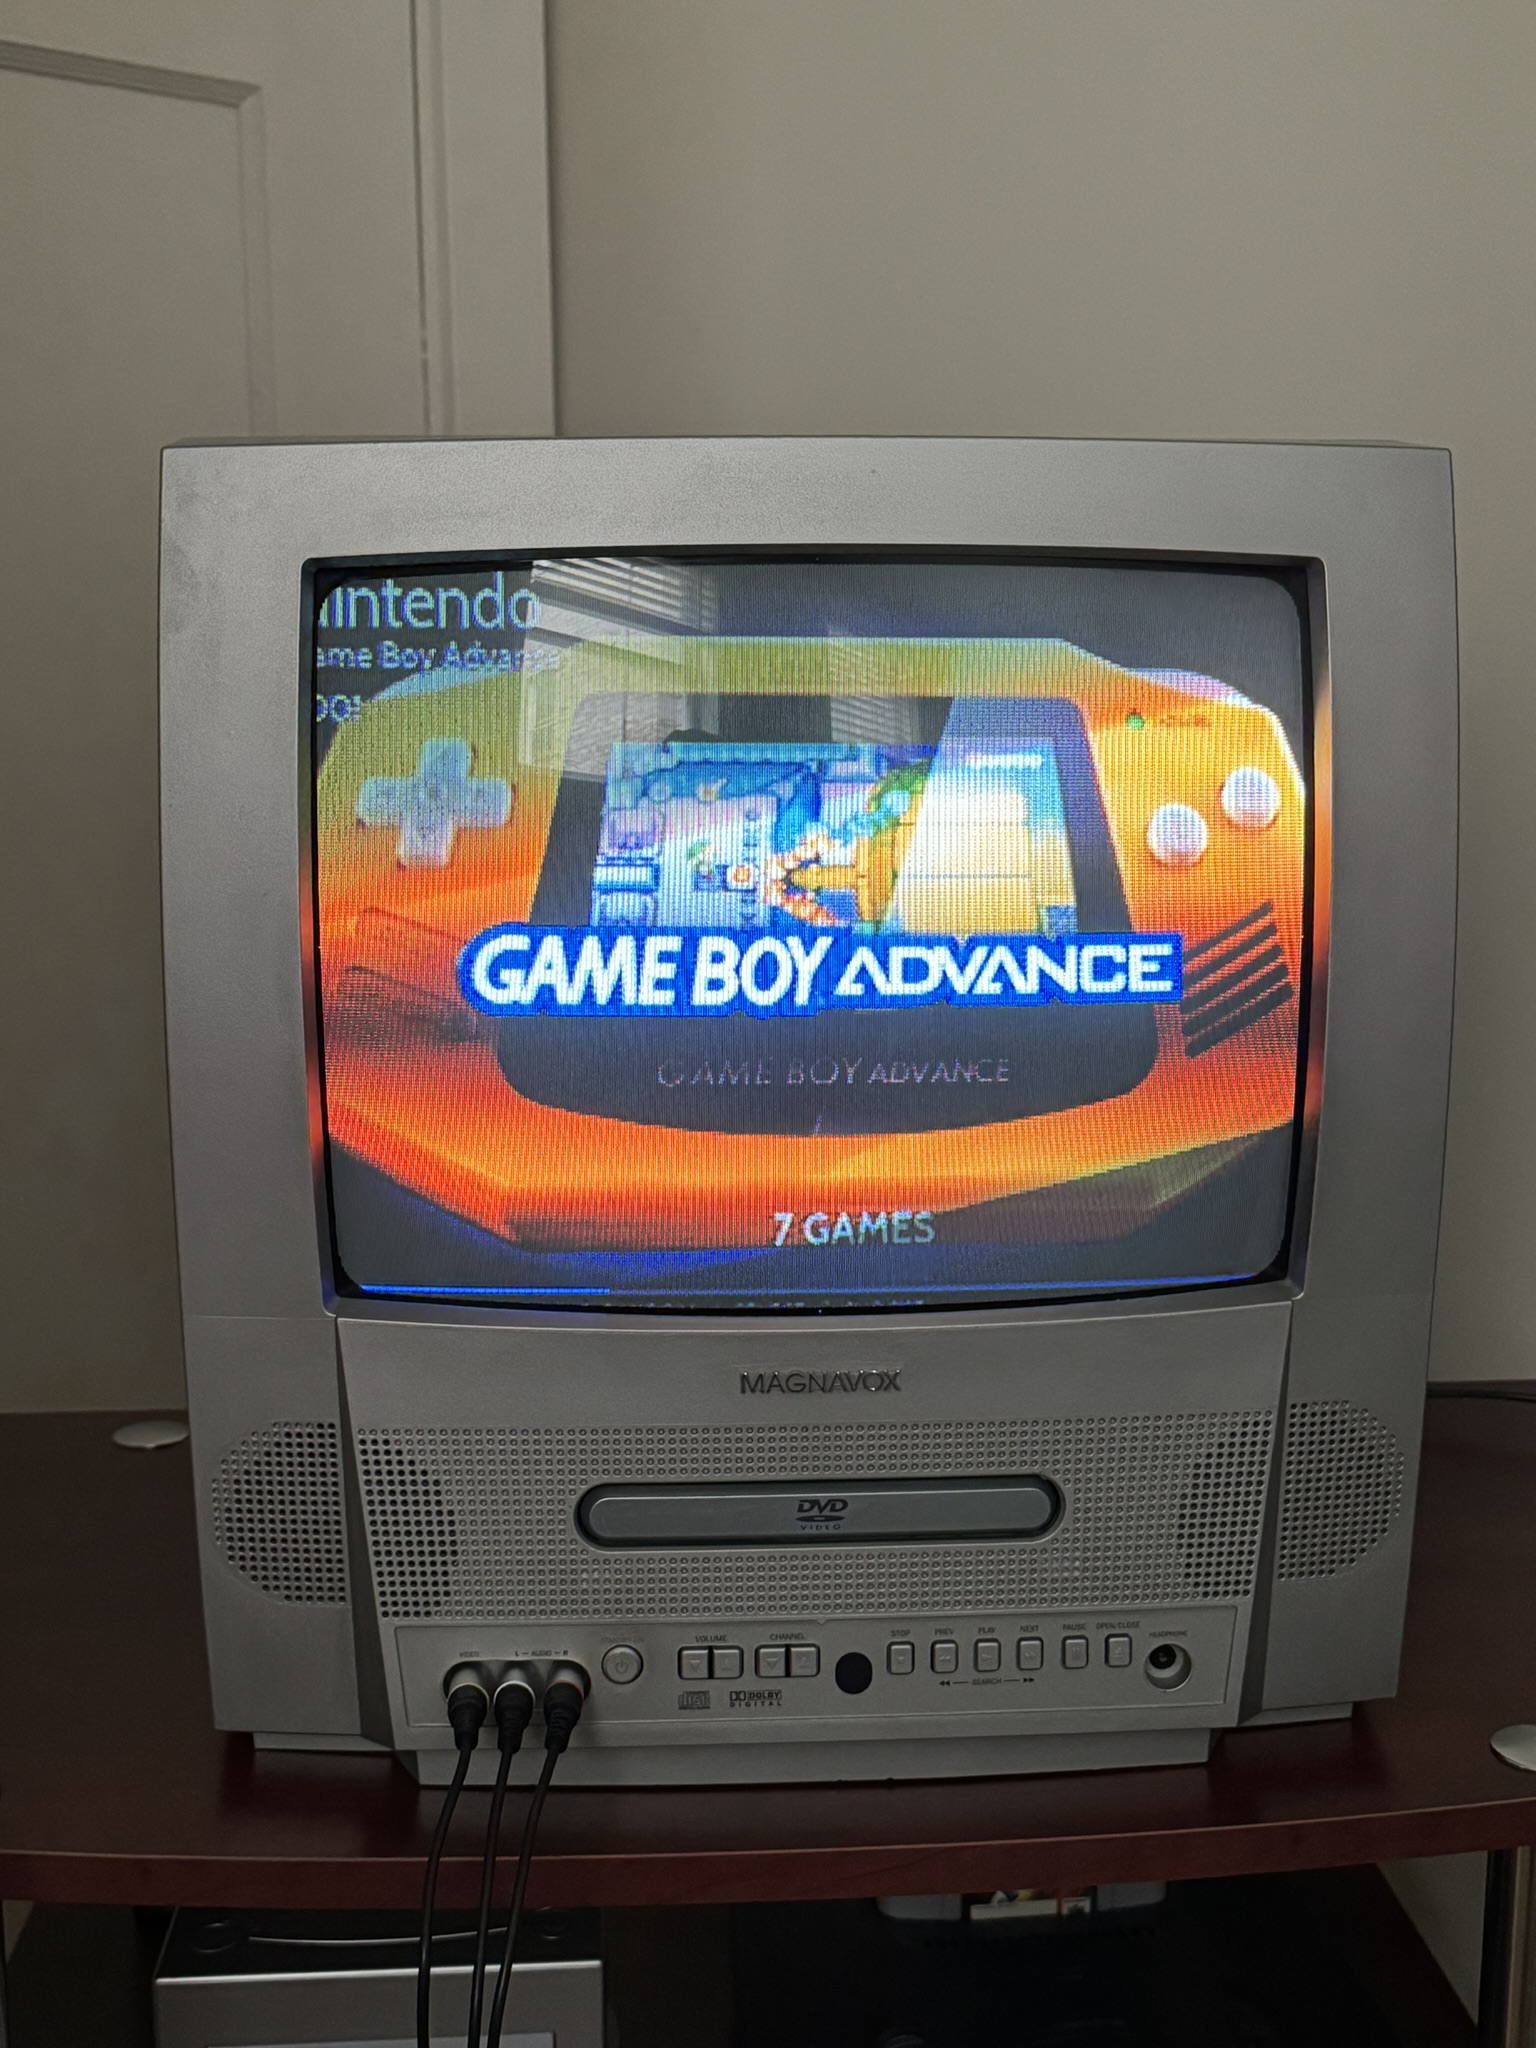
Batocera offers quite a bit of configuration, from themes to emulator settings to things like RetroAchievements. I spent some time configuring things how I liked, including scraping some ROM metadata to get that nice box art. We can now play these games on the CRT, and they look great! I will likely spend a good deal of time more playing with the settings until I have a final setup I am happy with.
What’s Next?
Now that we have a working emulation setup we’re almost halfway to our goal of a Retro Experience. Also, if you remember, I mentioned a bonus challenge of syncing save data between my devices. Tune into part three to see if I can do it!
Try to learn something.